Search
[wpdreams_ajaxsearchlite]
AVSnap provides an easy way to configure arrows on the ends of cables and on the bend points of cables. The arrows can be adjusted in width and length.
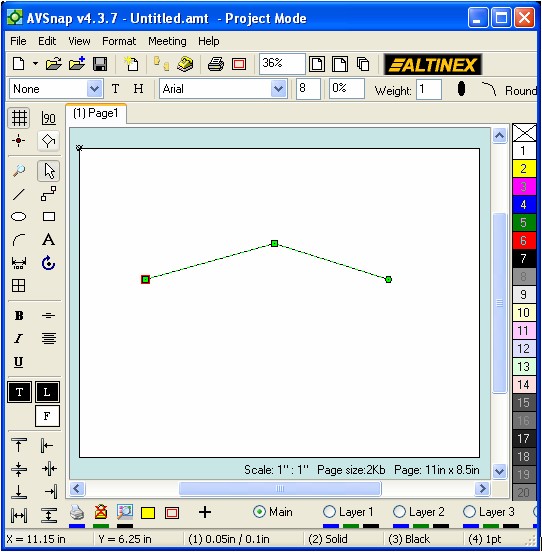
Step 1: Start AVSnap and draw a cable object in the middle of the project page. Double click on the middle of the cable to create a bend point and move it up a little.
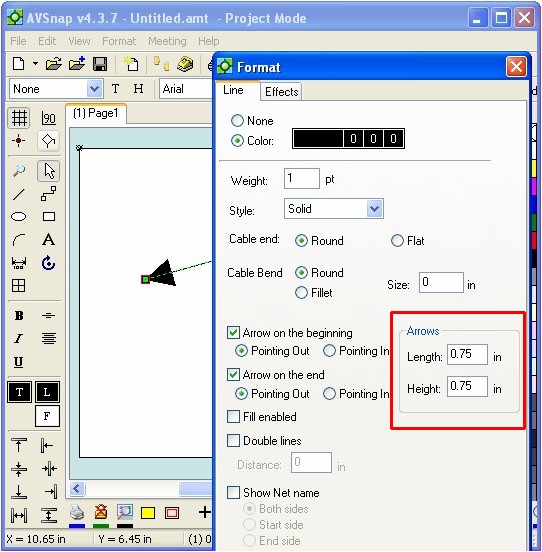
Step 2: While the cable is selected, press shortcut “B” to display the cable format. If you want to make this change as the default format for future use, you can press shortcut “D” instead to open up the default format. Select the arrow option on both the beginning and the end of the cable. Press Apply to complete the selection.

Step 3: On the same form, adjust the length and height of the arrow to achieve the desired look. Use the mouse scroll wheel to see the arrow change in size as you adjust the dimensions. Once completed, press OK.
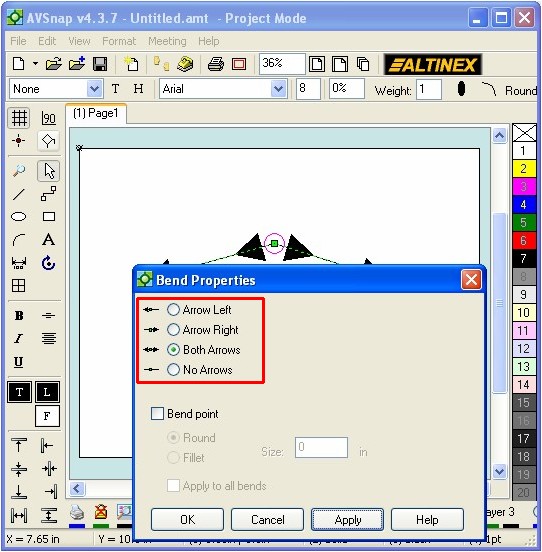
Step 4: Double click on the cable bend point and select arrows at the bend point. Press Apply to make the selection visible on the design page.
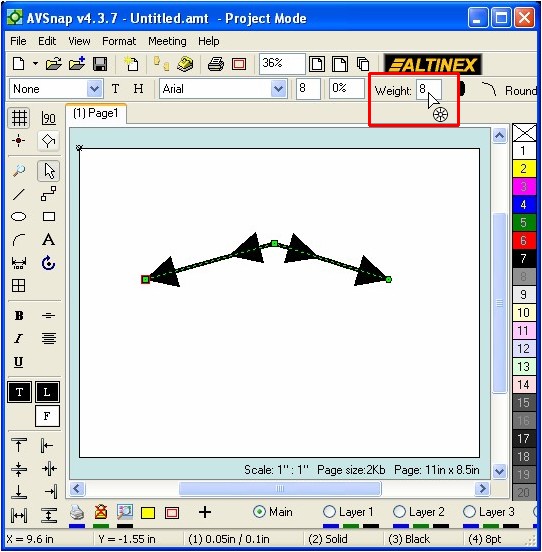
Step 5: To make the cable thicker, adjust the cable weight on the object format bar. Note that arrows will change in size as the cable gets thicker or thinner.
The ability to adjust cable arrows adds a new dimension to AVSnap’s flexibility as a system design tool. To speed up the creation of arrows on the beginning and the end of a cable object, use keyboard shortcuts ‘,’(comma) for left arrows and ‘.’ (period) for right arrows.
Want More Help?
Get Your Free Copy of AVSnap Now
Save Your Time And Effort And Start Using AVSnap To Control Your AV System