Search
[wpdreams_ajaxsearchlite]
AVSnap provides an easy way to remove the image background color. In many cases, images may have a white background color that needs to be removed to create visually appealing artwork. The transparency function simplifies this task.
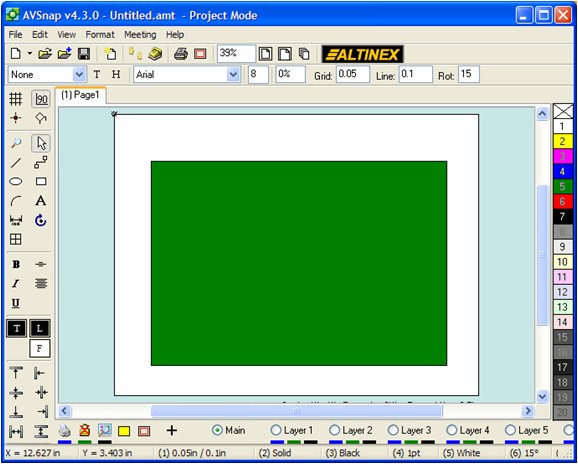
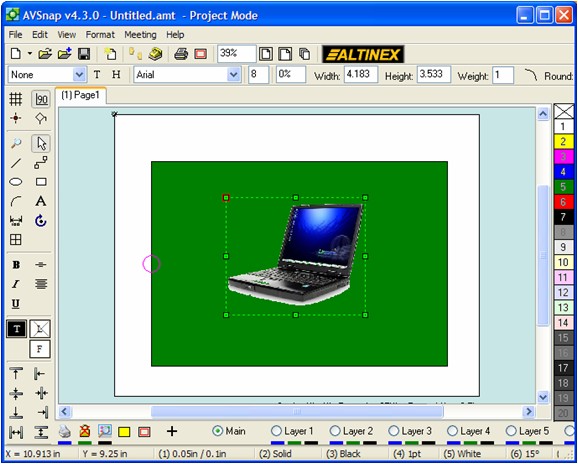
Step 1: Draw a rectangle on the Project Page and fill it with green background color.
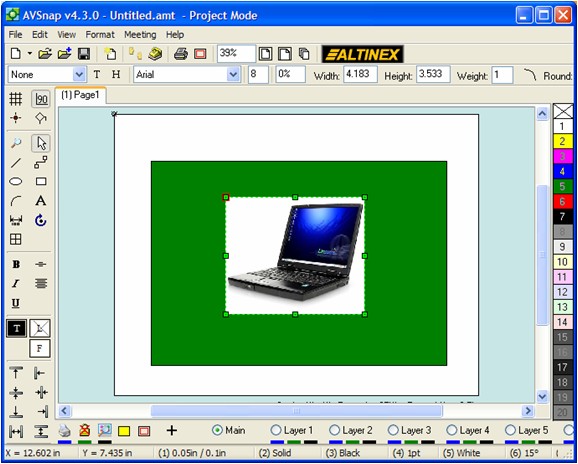
Step 2: Copy and paste an image from the web with a white background. This can be done by going to Google, searching for “Laptop” and right clicking on the image and copying it. (This is done for educational purposes only. Many images are copyrighted and should not be used in commercial applications.
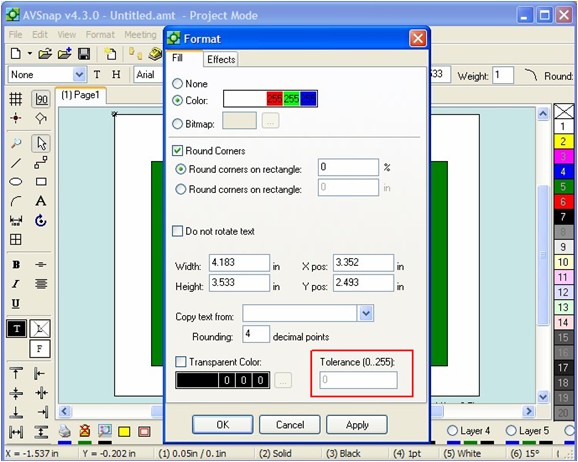
Step 3: Right click on the image and select the “Fill” option, or press keyboard shortcut “B”. In the properties dialog, select “Transparent Color” option.
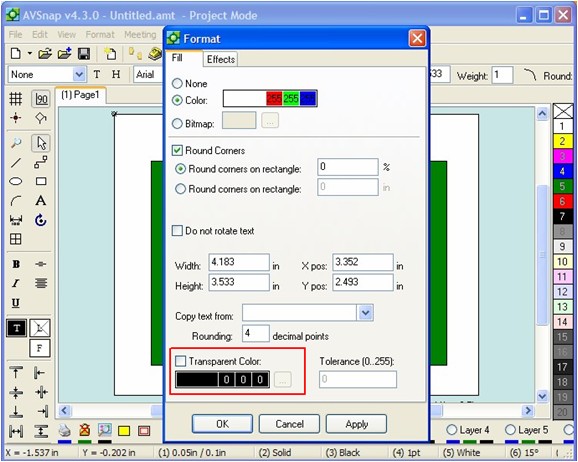
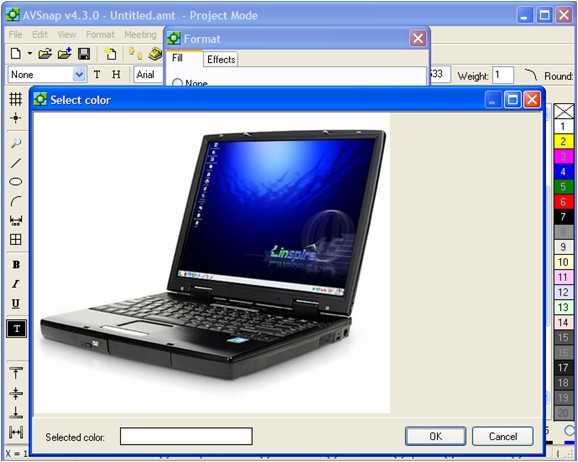
Step 4: Click on the “Select color from image” button. In the displayed form, mouse click anywhere to select the white background. Press OK to complete the selection.
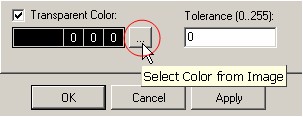
Step 5: Set the color tolerance to 20 to start with. This will provide a color selection even if the background color is not 100% uniform.
Step 6: Click Ok to close the format properties to see the result of the background color removal. Adjust tolerance as needed to get the best results.
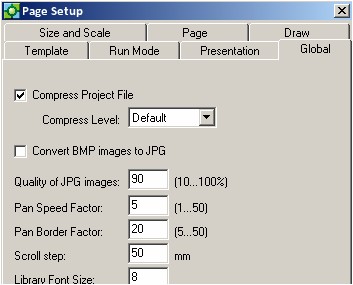
For best results in removing background color, use BMP images and change the AVSnap setting to keep the original image format when importing images. This is done by unchecking “Convert BMP images to JPG” under Page Setup (shortcut P)/Global tab.
Want More Help?
Get Your Free Copy of AVSnap Now
Save Your Time And Effort And Start Using AVSnap To Control Your AV System